How-to: Simple digital masking
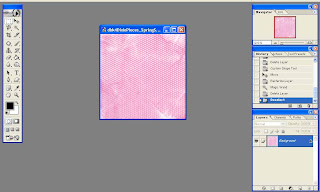
1. Open the image you want to "mask" and duplicate it. You don't want to "edit or alter" it and accidentally save it, right? I used a pink patterned paper from Dixie Digital's Spring Sherbet kit.

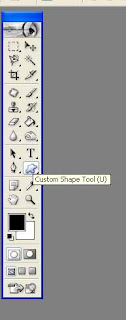
2. Click CUSTOM SHAPE TOOL.
 3. Click on the Shape drop-down list and choose the SHAPE you want to base your mask on. For my example, I choose the Circle Thin Frame and Black for my color fill.
 4. This is how it will look like once you "draw" the CIRCLE THIN FRAME with the Marquee tool on the pink patterned paper
 5. Now, click the MAGIC WAND TOOL. Click it ON the frame.
Right click on the CIRCLE THIN FRAME LAYER and choose RAZTERIZE LAYER. You will notice that the cricle shape layer will no longer be "locked", you can now use this as a mask. 6. At this point, you should see the "marching ants" at the edges of the black circle thin frame. Highlight the pink patterned paper layer. Simultaneously click CTRL+C (to copy) on your keyboard. And then CTRL+V, to paste the "masked image".
 7. Voila! You now have a patterned circle thin frame! :)
  Hope this simple how-to helped YOU (you know who you are heehee) and others somehow. Thanks! :)


Comments
Would you consider adding your article to our forum? It would go very well with the tutorials Krista is adding for Photoshop Elements.
Great job! I'm excited to try this.